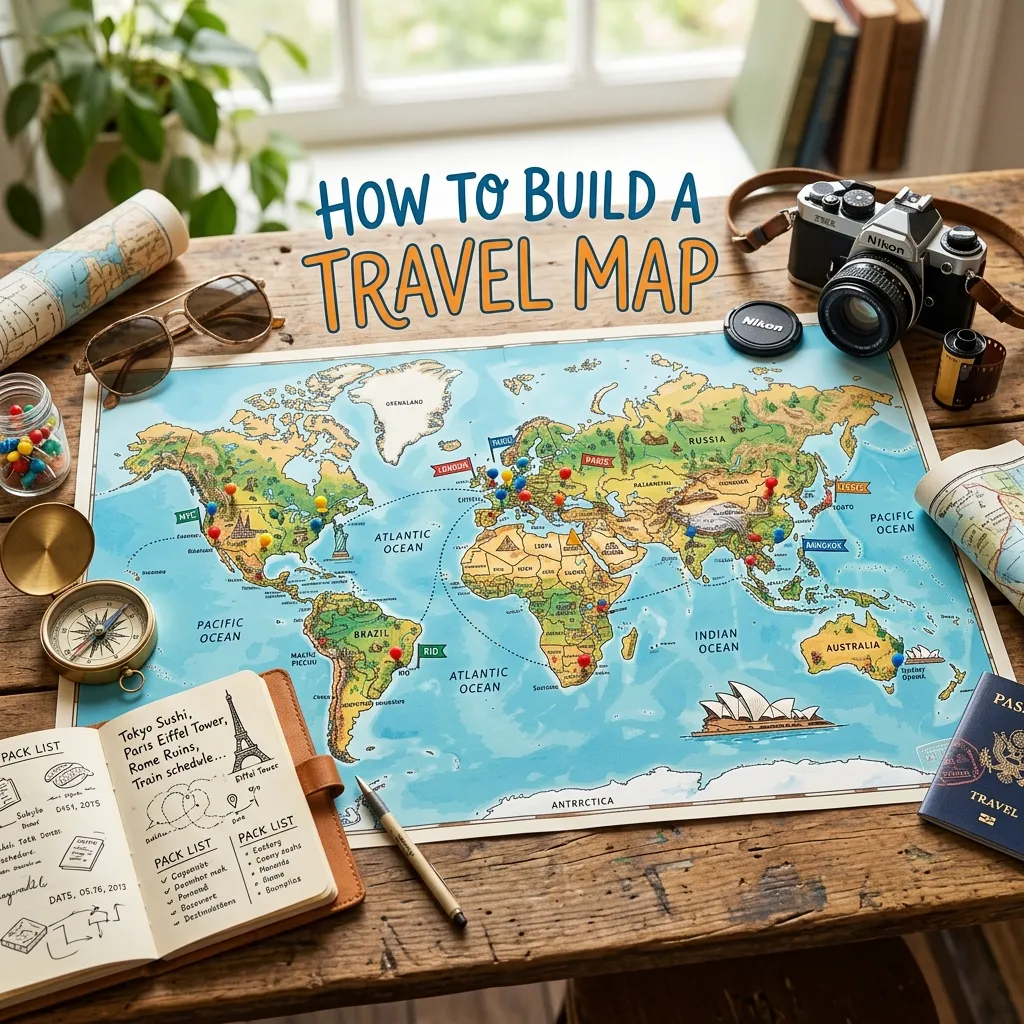
This comprehensive guide explains exactly how to build a travel map that fits your unique needs. You will discover the best digital tools, review a detailed comparison of mapping platforms, learn a proven step-by-step creation process, and uncover expert tips to avoid common planning mistakes.
Visualizing your journey completely transforms how you experience new places. Instead of relying on disorganized lists or random notes on your phone, a custom map gives you spatial awareness. When you know how to build a travel map, you group activities by neighborhood, saving hours of transit time and money.
Whether you focus on itinerary planning for an upcoming European vacation or you want to document past adventures, mapping your route adds context. You can see the exact distance between your hotel and the museum. You can pinpoint the exact cafe where you had the best espresso of your life.
Creating a map also eliminates the stress of on-the-go navigation. By downloading your custom data for offline use, you remain prepared even when cell service drops. It is one of the most effective road trip essentials you can master.
Choosing the Best Tool for Your Journey
Before diving into the exact steps, you must select the right platform. Different travelers have different needs. Some want a highly functional navigation tool, while others want a beautiful digital scrapbook for travel photography.
Here is a breakdown of the most popular options available today.
Platform Comparison Table
|
Feature/Tool |
Google My Maps |
Dedicated Photo Apps (e.g., TripMemo) |
DIY Physical Map |
|---|---|---|---|
|
Best For |
Detailed route planning, driving directions |
Documenting past trips, adding photos |
Home decor, physical memory tracking |
|
Price |
Free |
Freemium / Subscription |
Variable (Cost of materials) |
|
Offline Use |
Yes (via KML export to Google Earth) |
Yes (Premium feature usually) |
N/A |
|
Ease of Use |
Moderate |
High (Automated via EXIF data) |
Time-consuming |
|
Customization |
Custom colors, layers, and icons |
Timeline views, automated routes |
Infinite (Wood, paint, pins) |
How to Build a Travel Map: A Detailed Step-by-Step Guide
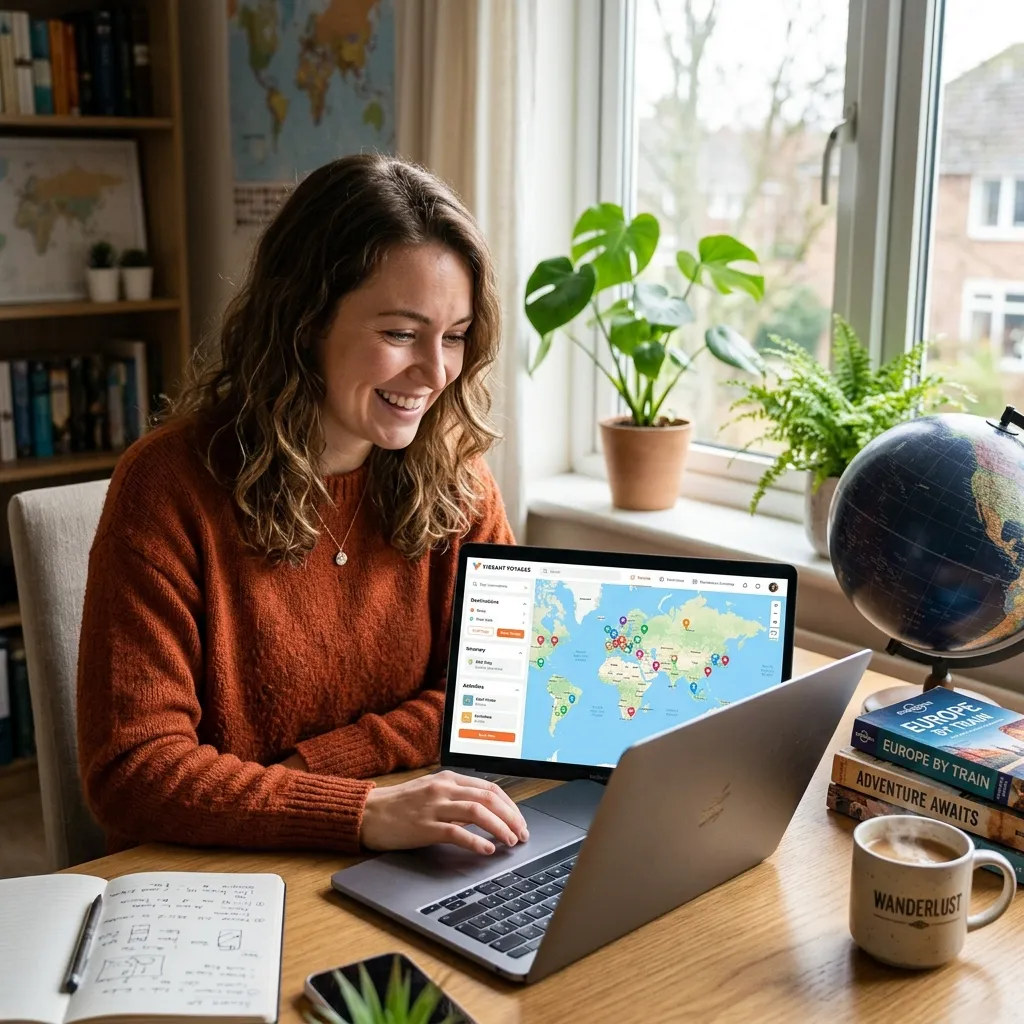
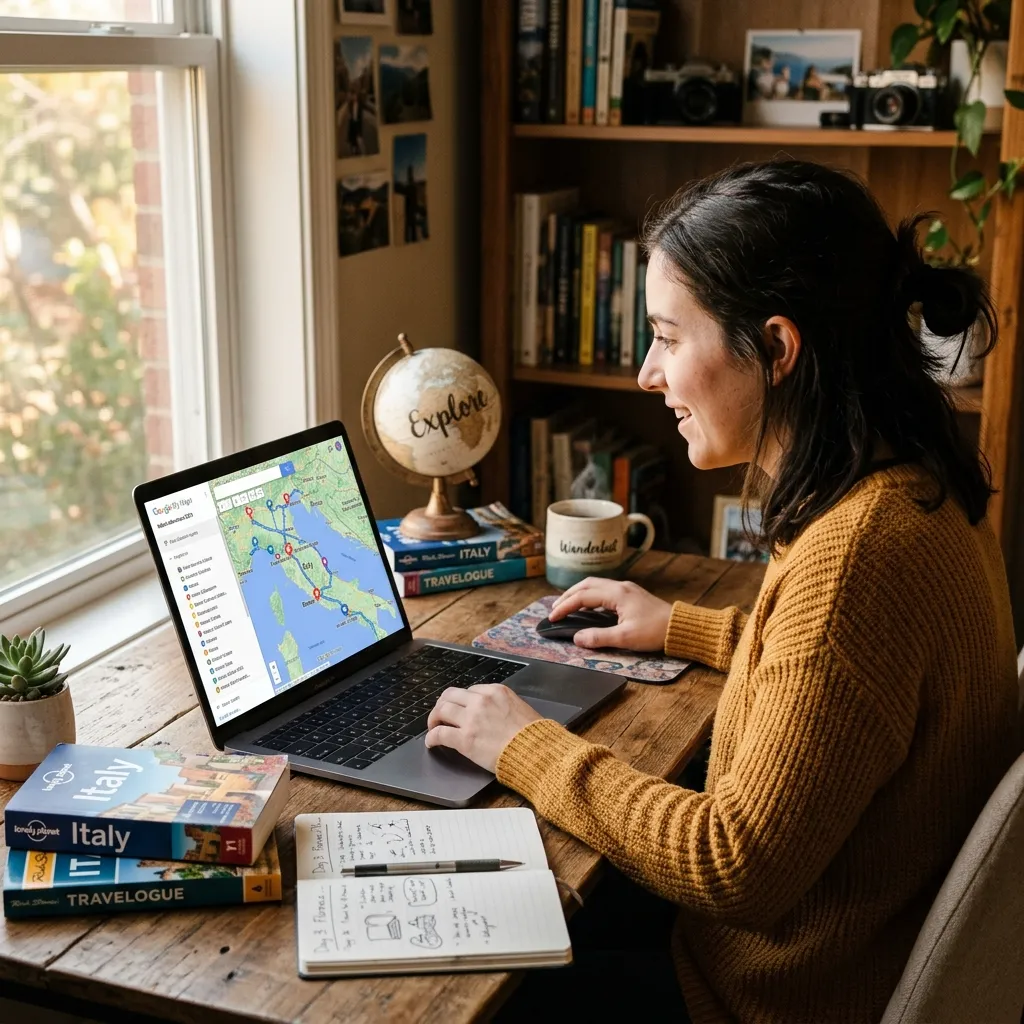
Follow these actionable steps to create an interactive, highly customized travel map. We will focus primarily on digital creation using tools like Google My Maps, as it remains the most versatile and accessible option.
Step 1: Define the Goal of Your Map
Are you planning a future trip or documenting a past one? The answer changes how you build a travel map. If you are planning, you need layers for hotels, restaurants, and attractions. If you are documenting, you need features that support photo uploads and chronological timelines. Clarify your objective before you drop a single pin.
Step 2: Set Up Your Base Map
If using Google My Maps, navigate to the site on your desktop. Log in to your account and click “Create a New Map.” Immediately give your map a clear, descriptive title like “Japan Autumn. ” Write a short description to remind yourself of the trip’s overall goal.
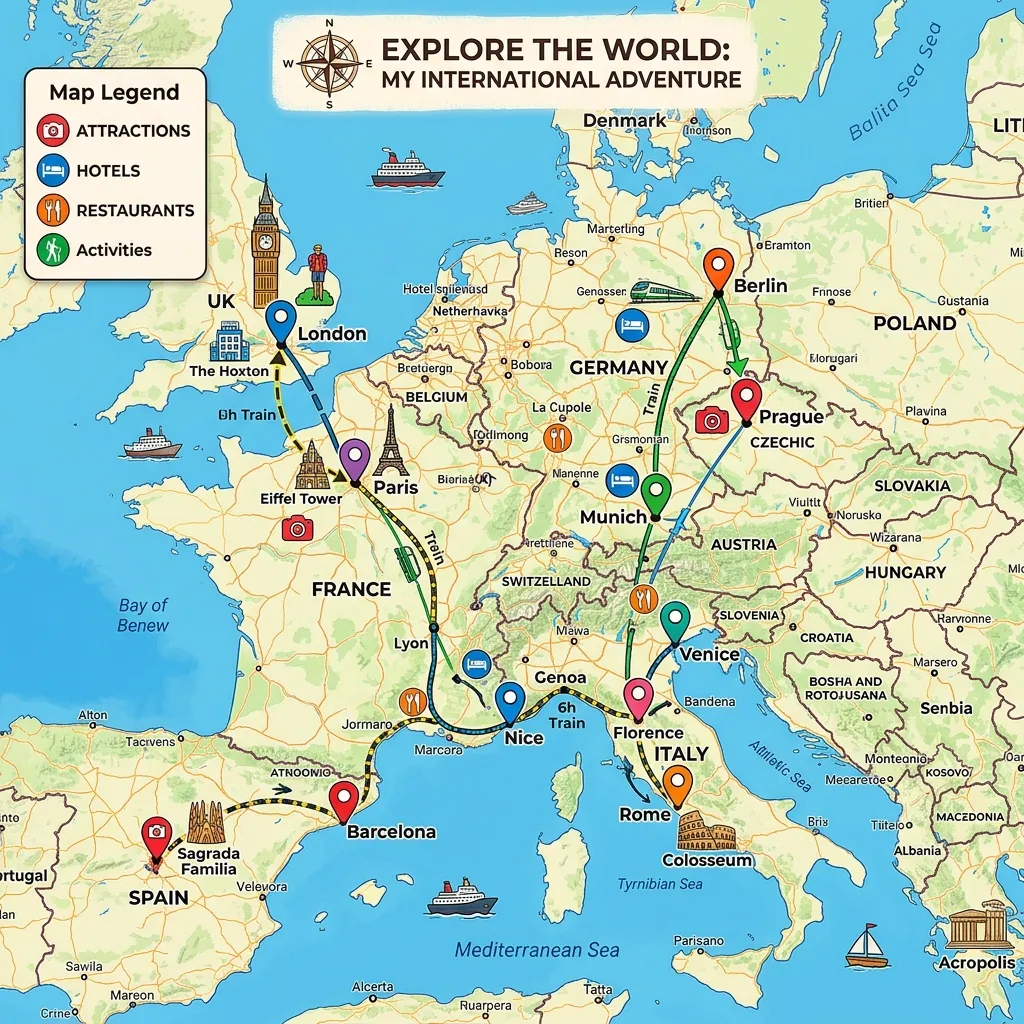
Step 3: Create Logical Layers
Layers act as categories to keep your map organized. Google allows up to 10 layers. Rename your first layer to something specific. Excellent layer ideas include:
- Accommodation (Hotels, hostels, rentals)
- Food & Drink (Cafes, bars, restaurants)
- Attractions (Museums, parks, historical sites)
- Logistics (Train stations, airports, rental car lots)
Keeping these separate allows you to toggle them on and off, preventing the screen from looking cluttered.
Step 4: Drop Your Pins and Add Details
Use the search bar to find the specific locations you want to visit. Once the location appears, click “Add to Map.” Ensure you have selected the correct layer before adding the pin.
Next, customize the pin. Change the color or select a specific icon (like a coffee cup for cafes or a bed for hotels). Use the notes section of the pin to add context. Paste in reservation times, confirmation numbers, or personal reminders like “Try the matcha croissant.” Including these details right on the pin is a major budget travel tips secret, as it prevents you from booking redundant tours or losing track of prepaid activities.
Step 5: Map Your Daily Routes
Once your pins populate the screen, look for geographical clusters. Grouping your daily activities by neighborhood is the core secret to understanding how to build a travel map efficiently. Create a new layer for “Directions.” Add your starting point (your hotel) and connect it to your first attraction. This feature calculates walking or driving times, helping you set a realistic pace for the day.
Step 6: Download for Offline Navigation
You will not always have a reliable internet connection abroad. To access your map offline, export it as a KML file. You can then open this file in apps like Google Earth or Maps.me. Having your directions accessible without Wi-Fi ensures you never get lost in an unfamiliar city.
Common Mistakes to Avoid When Creating Your Map
Even experienced travelers make errors during the planning phase. Avoid these pitfalls to ensure your map remains useful and stress-free.
- Overcrowding the map: Adding every single restaurant you read about creates visual chaos. Curate your list. Keep only the absolute must-visit locations.
- Forgetting to color-code: If all your pins are standard blue, you cannot tell a museum from a metro station at a glance. Always use distinct colors and icons.
- Ignoring offline access: Relying solely on live cellular data is a massive risk. Always download your map before leaving your home network.
- Underestimating distances: Two pins might look close on a desktop screen, but could involve steep hills or lack pedestrian paths. Always check the actual walking directions.
Pro Tips for an Unforgettable Mapping Experience
Elevate your map from a simple list of locations to a dynamic travel companion.
- Use EXIF Data for Past Trips: If you want to document a previous vacation, use an app that reads the EXIF data on your photos. This automatically places your images on the exact coordinates where you took them, saving you hours of manual entry.
- Share and Collaborate: Give edit access to your travel companions. Let everyone add their top three must-do activities. This ensures everyone gets a voice in the itinerary.
- Add Context to Every Pin: Do not just drop a pin for a famous landmark. Link out to Lonely Planet for historical context, or add a link to the Official Louvre Ticketing Site directly in the pin’s notes.
- Cross-Reference Expert Advice: Validate your chosen spots by checking authoritative resources like Nomadic Matt or reading safety updates from the U.S. Department of State. Drop pins for emergency locations like local embassies or recommended hospitals.
Conclusion
Knowing exactly how to build a travel map empowers you to travel smarter, save valuable time, and preserve unforgettable memories. By organizing your destinations visually, you remove the stress from daily navigation and immerse yourself fully in the experience. Start designing your ultimate adventure today by opening a new map and dropping your very first pin!
Frequently Asked Questions
1. Is it free to build a custom travel map?
Yes, platforms like Google My Maps allow you to create, customize, and share detailed maps completely free of charge. Premium storytelling apps may require a subscription for advanced features.
2. Can I use my custom map without an internet connection?
Yes. You can export your map data as a KML/KMZ file and open it in offline-capable applications like Google Earth or Maps.me, ensuring you have navigation access anywhere.
3. How do I share my map with friends and family?
Most mapping tools include a “Share” button. You can generate a link and set permissions to either “Viewer” (so they can see the route) or “Editor” (so they can add their own pins).
4. What is the best way to categorize locations?
Use layers and color coding. Group locations by type, such as accommodation, food, and attractions. Assign a specific color and icon to each category for quick visual scanning.
5. Can I add personal photos to my map pins?
Yes. In Google My Maps, you can click the camera icon on any pin to upload personal photos or videos. Other apps automatically place photos on the map using the image’s GPS data.
6. How many layers can I have on a single map?
Google My Maps currently limits users to 10 layers per map. If you need more, you can organize layers by day of the week or create separate maps for different cities.
7. Does creating a map help save money on a trip?
Absolutely. Visualizing your route allows you to group activities by neighborhood, significantly reducing the amount of money you spend on taxis, rideshares, and public transit.
8. How do I handle locations that do not show up in the search bar?
If a specific hiking trail or remote viewpoint does not exist in the database, you can manually drop a pin using precise GPS coordinates or by clicking directly on the map interface.
9. Can I import a spreadsheet of locations into my map?
Yes. If you have an Excel or CSV file containing addresses or coordinates, you can import it directly into a map layer to automatically generate dozens of pins at once.
10. What is the difference between Google Maps and Google My Maps?
Google Maps is the standard navigation app used for real-time driving directions. Google My Maps is a specialized custom tool designed for saving locations, drawing unique routes, and organizing personalized itineraries.


Leave a Reply